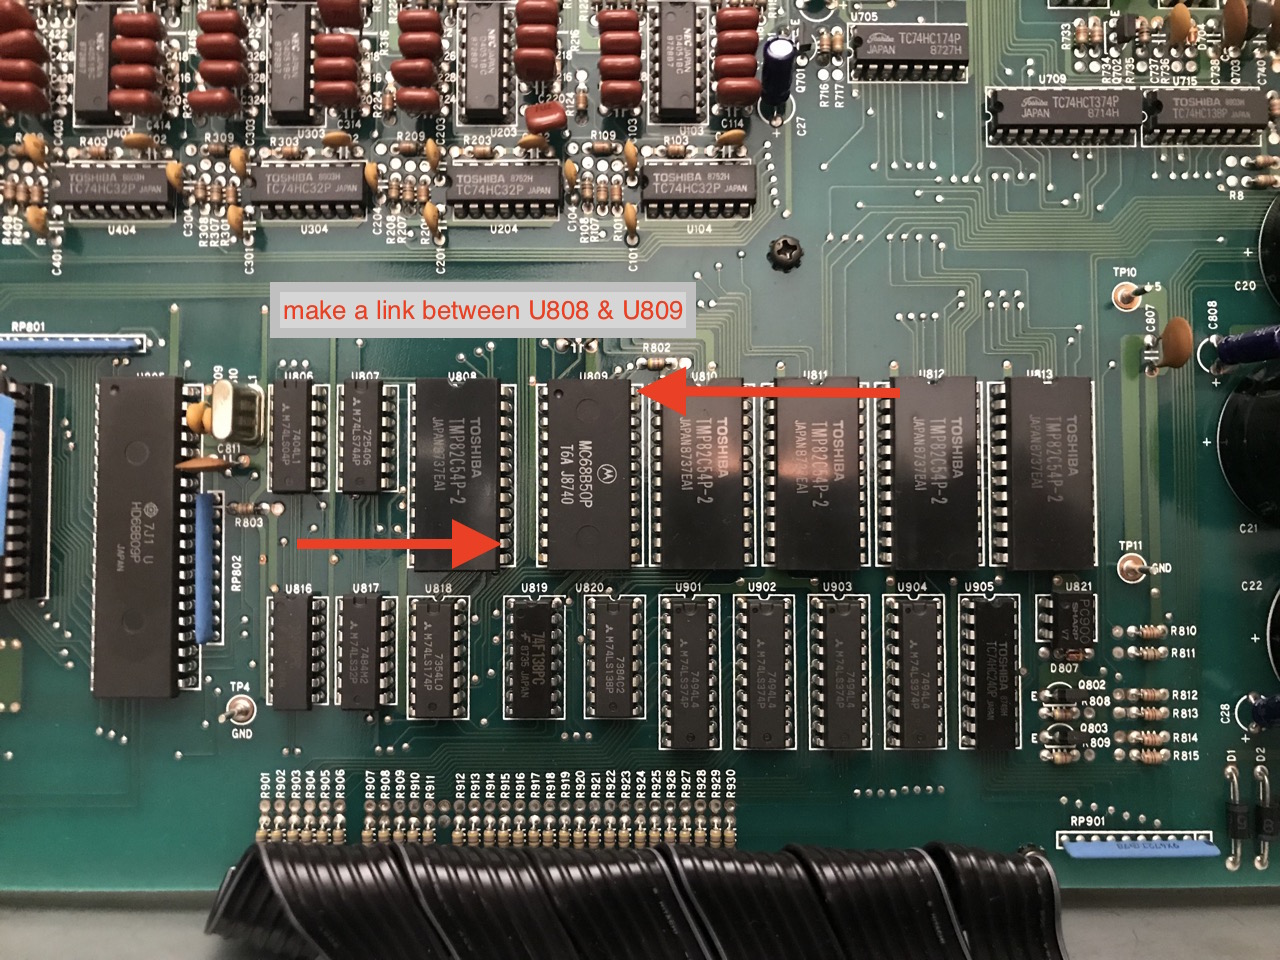
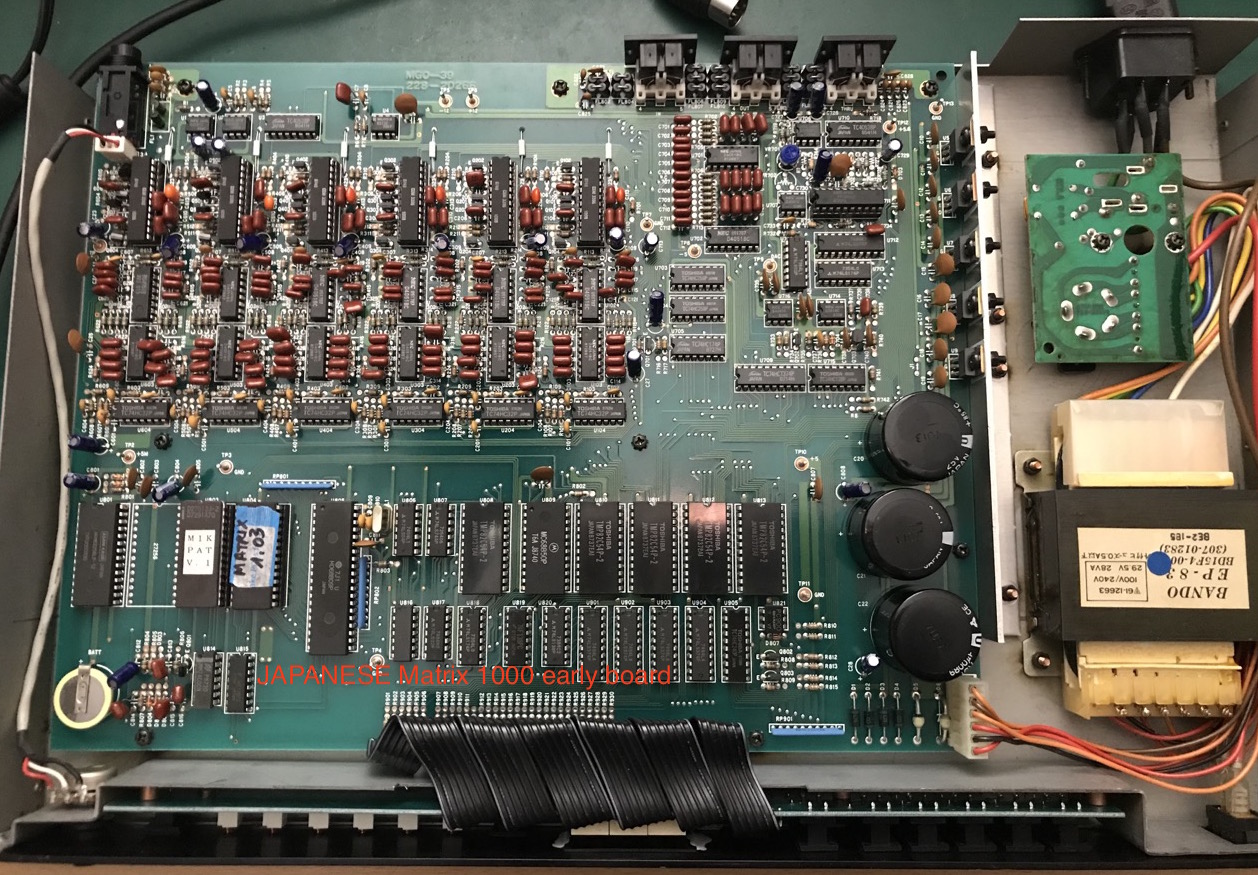
 We have recently discovered that the Japanese Matrix 1000 boards were early revision and had to be modified to be compatible with firmware 1.11 and 1.20
Most of the time they have an EPROM 1.03
If you notice that patches don’t sounds the same after an upgrade to 1.20 and a calibration, then you will have to do that modification to the board.
//////////////////////////////
More technical details are explained by Tauntek :
Early Matrix 1000 issue with any new firmware
Someone whose M1K shipped with V1.03 firmware was having problems trying to use V1.11 or later firmware. It turns out that the circuit was modified very slightly at some point and this change is required to run any firmware released after that. If you look at the above-mentioned scans of the Oberheim schematics that John Leimseider provided, you can see mention of several ECOs. The one that seems to be critical for running the newer firmware is ECO 1207, which connected the PULSE output of comparator U4 to the CTS input of 68B50 U809. Before this ECO, pin 24 was tied to gnd, so that connection was removed. The M1K calibration firmware was changed to read the PULSE state using the ACIA chip’s spare input, and will not run properly without this connection. ECO1207 also connected PULSE to the MUTE signal using a 1N4148 diode. This would tie the (open-collector) comparator output low during normal operation, since it’s only needed for calibration. This change is not required to run the newer firmware, but is probably worth adding anyway.
///////////////////////////
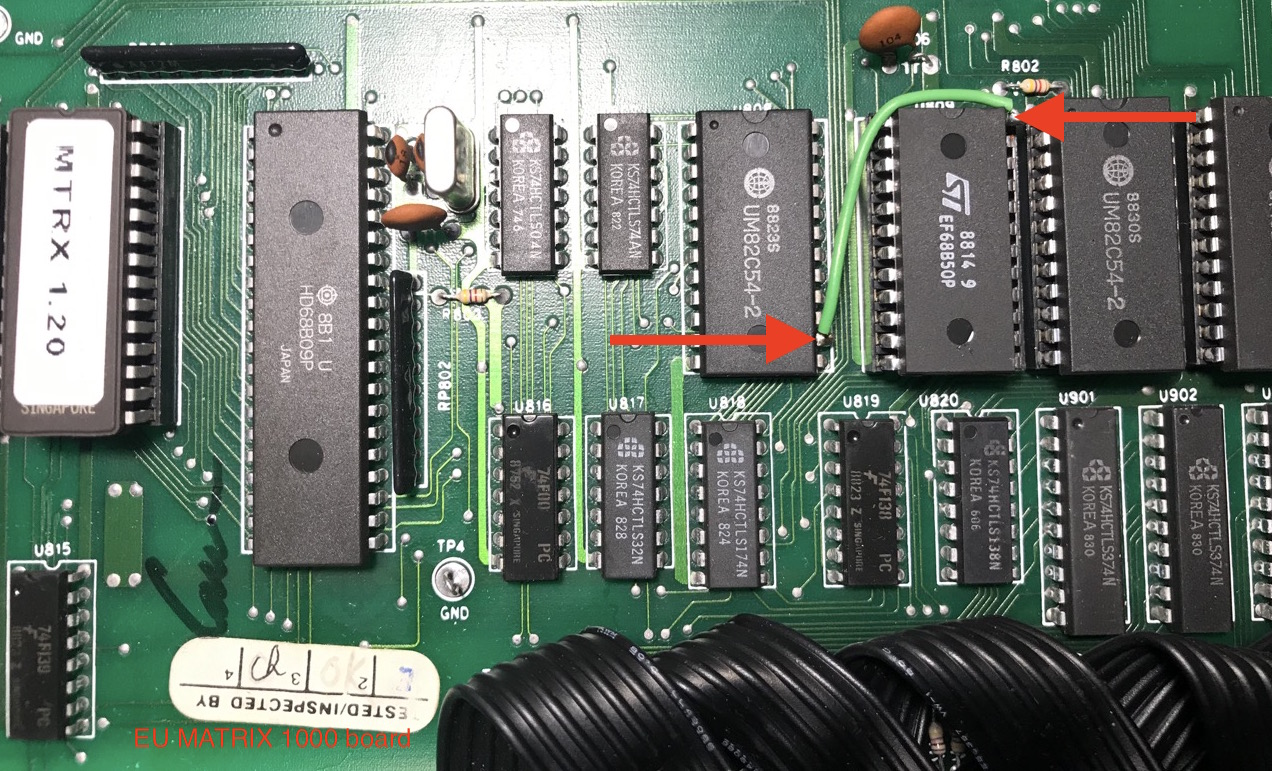
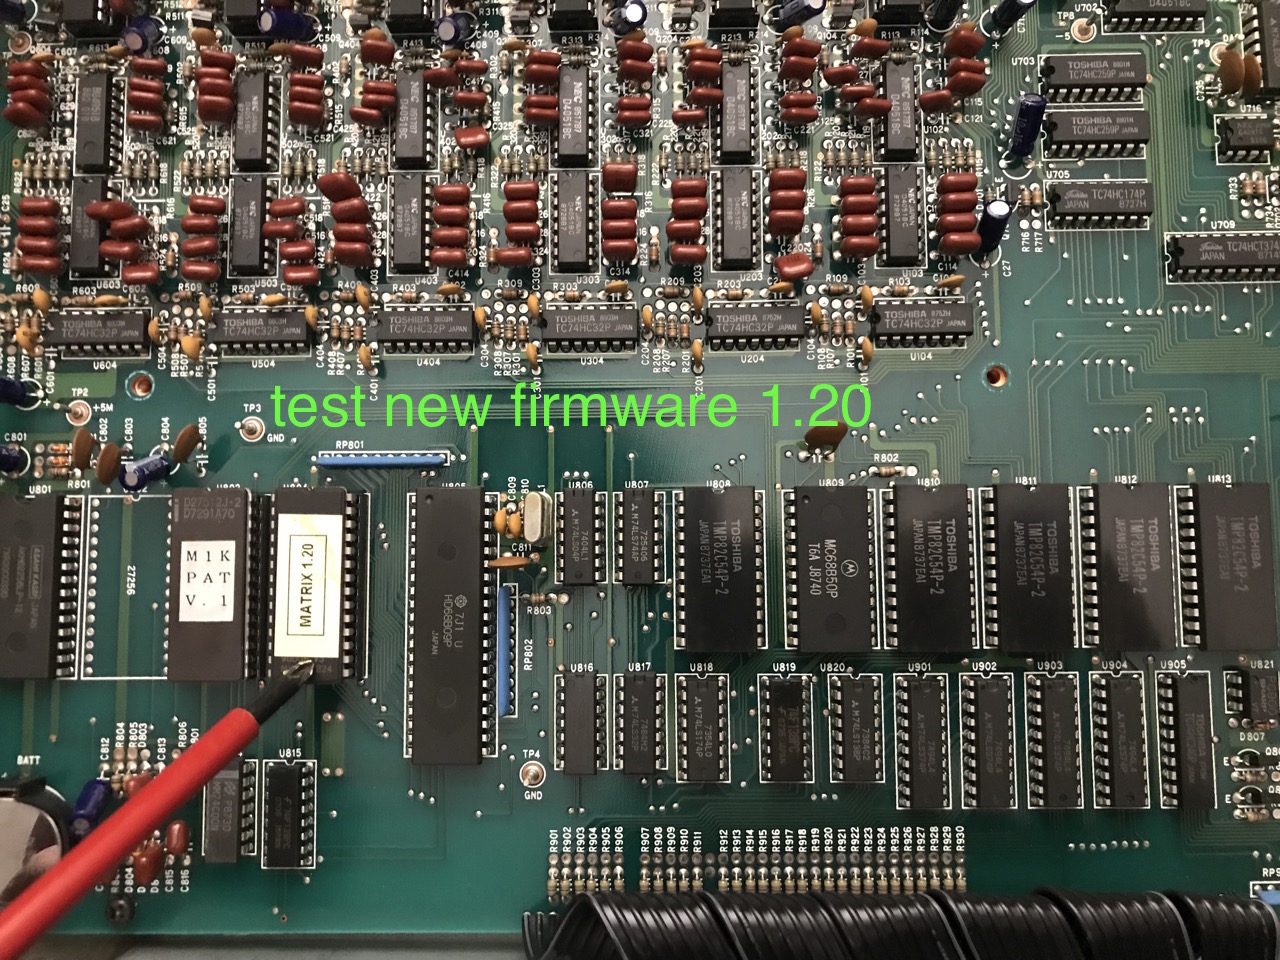
We then compared with our good old Matrix 1000 bought in France in 2009 – hence certainly issued from the french market – and guess what ? there is a wire between two chipsets as Tauntek said ! So it is time to upgrade that japanese board to the latest revision.
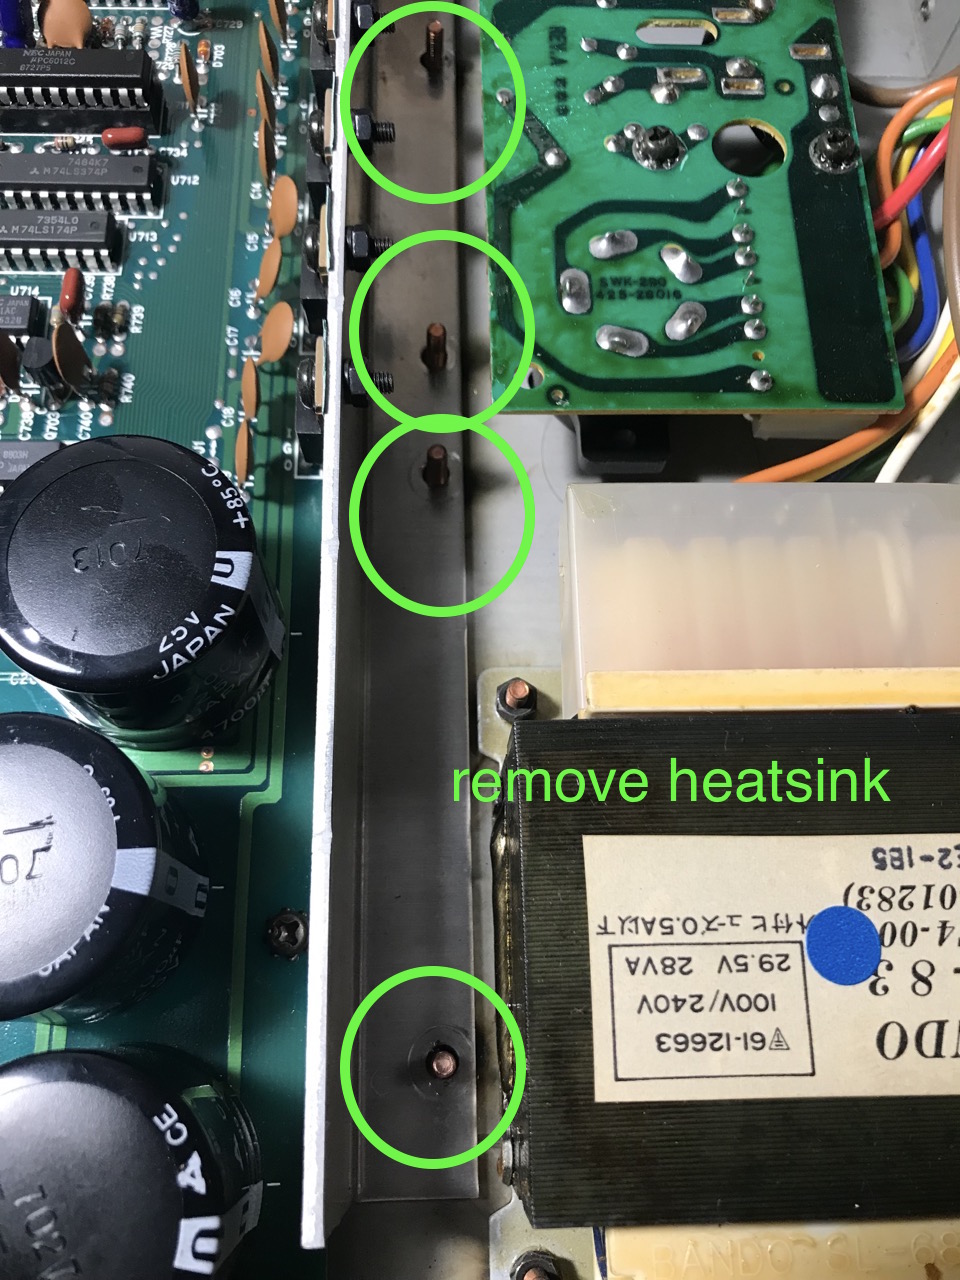
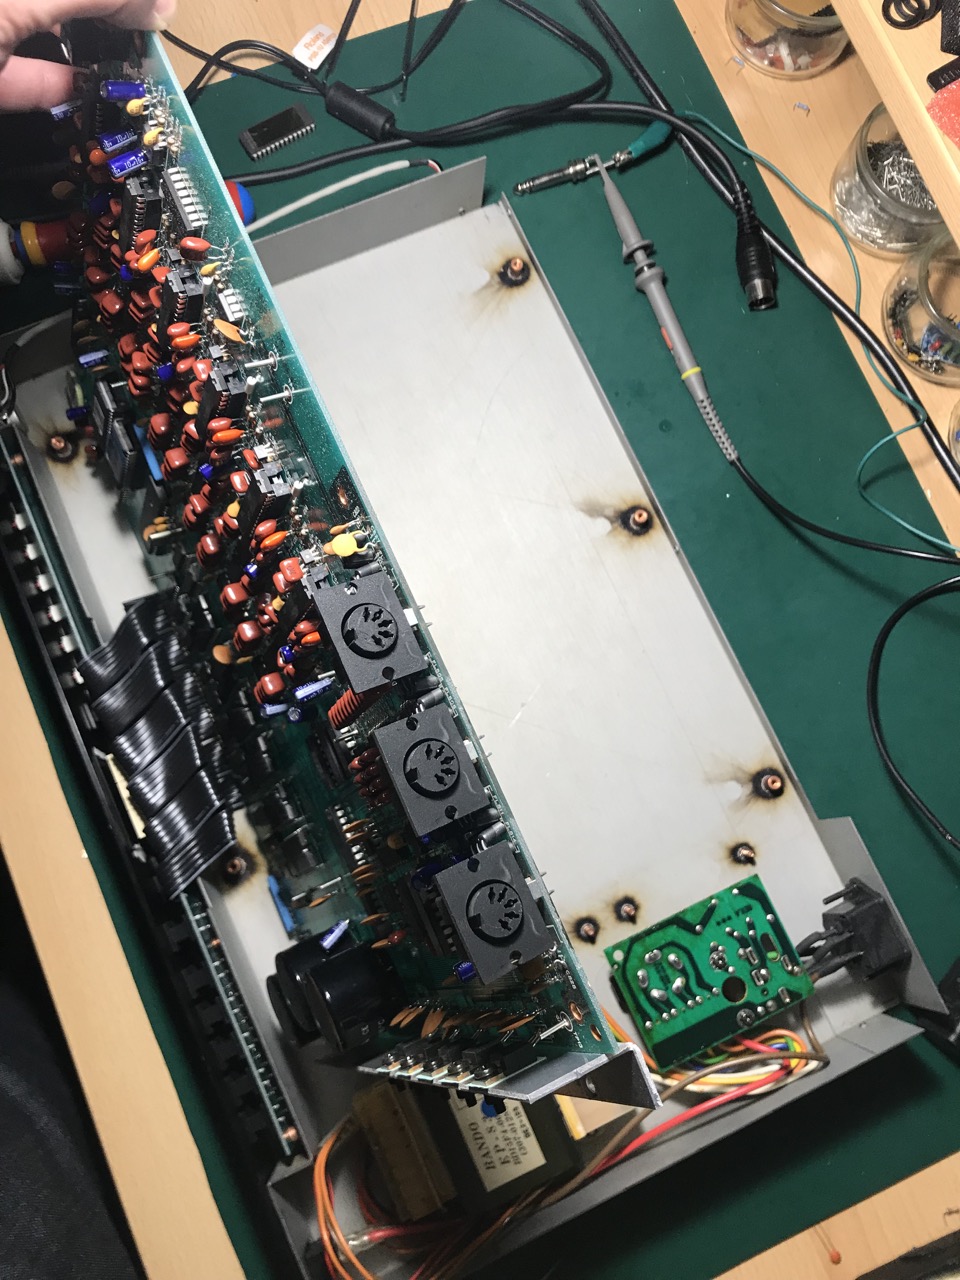
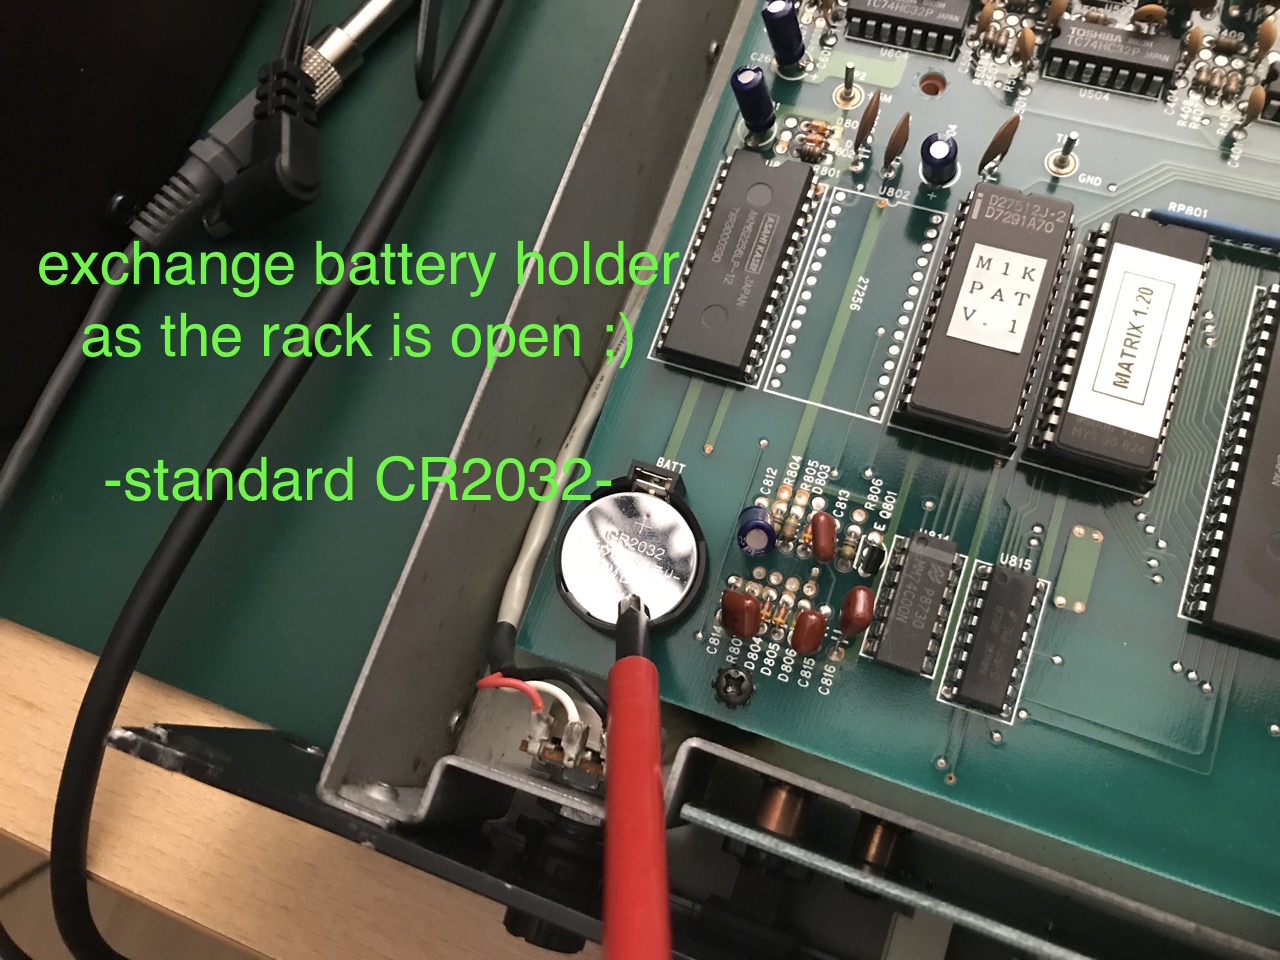
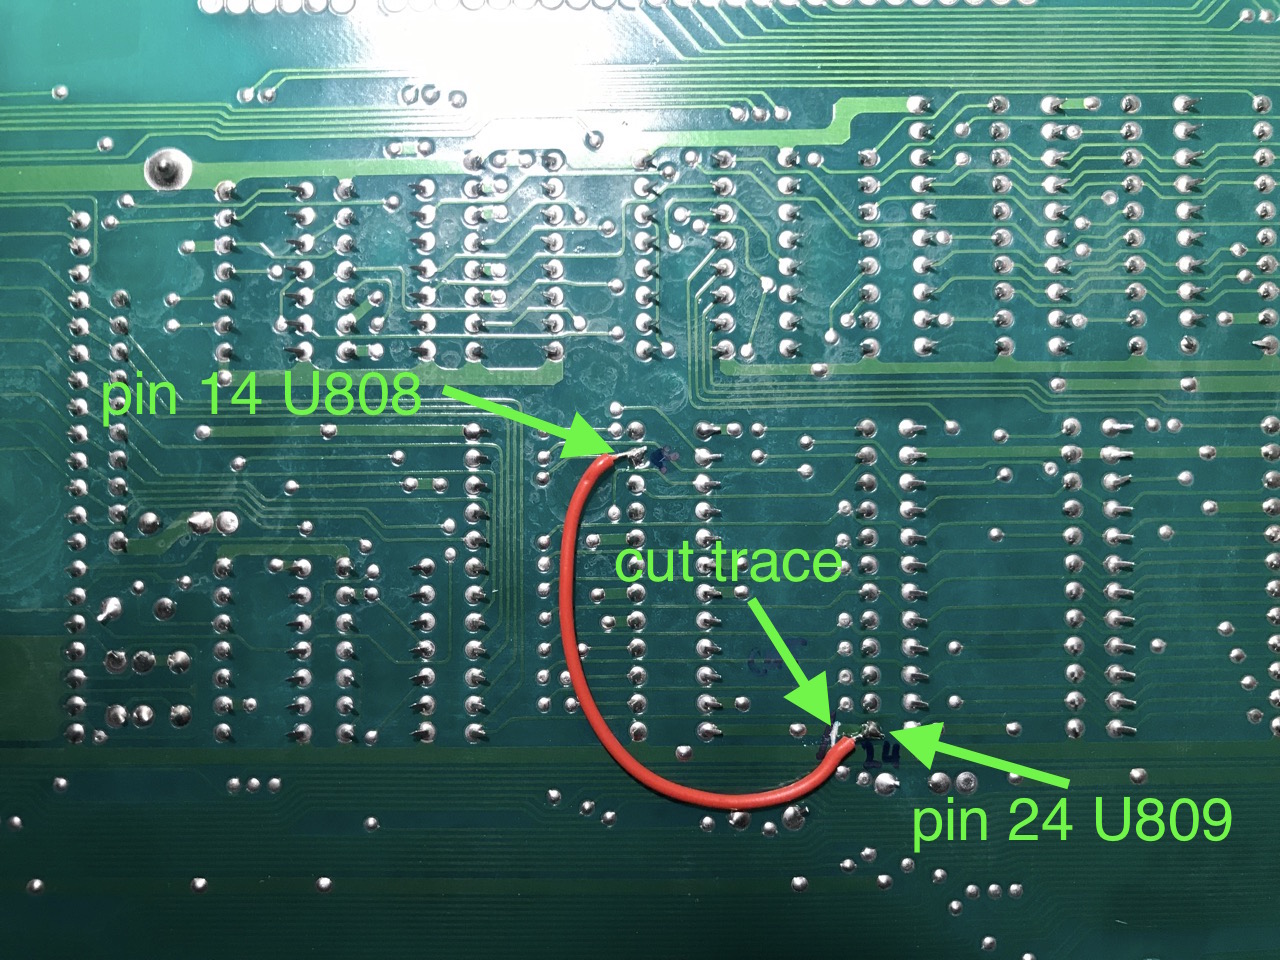
You will have to cut a trace and solder a wire between two pins on the bottom of the board. You could also desolder the chipset and do the same thing as on the french board but it is tricky if you don’t have a desoldering station … As we will remove the main board and the heatsink to flip the board, we will also upgrade the battery with a battery holder (CR2032).
To modify early board, cut the ground trace underneath (bottom side of PCB) that goes to U809 pin24 and solder a wire between U809 pin 24 and U808 pin14 :
Moreover there is an additional signal diode 1N4148 between a via (cathode side of the diode) and pin 7 of U4 Opamp : 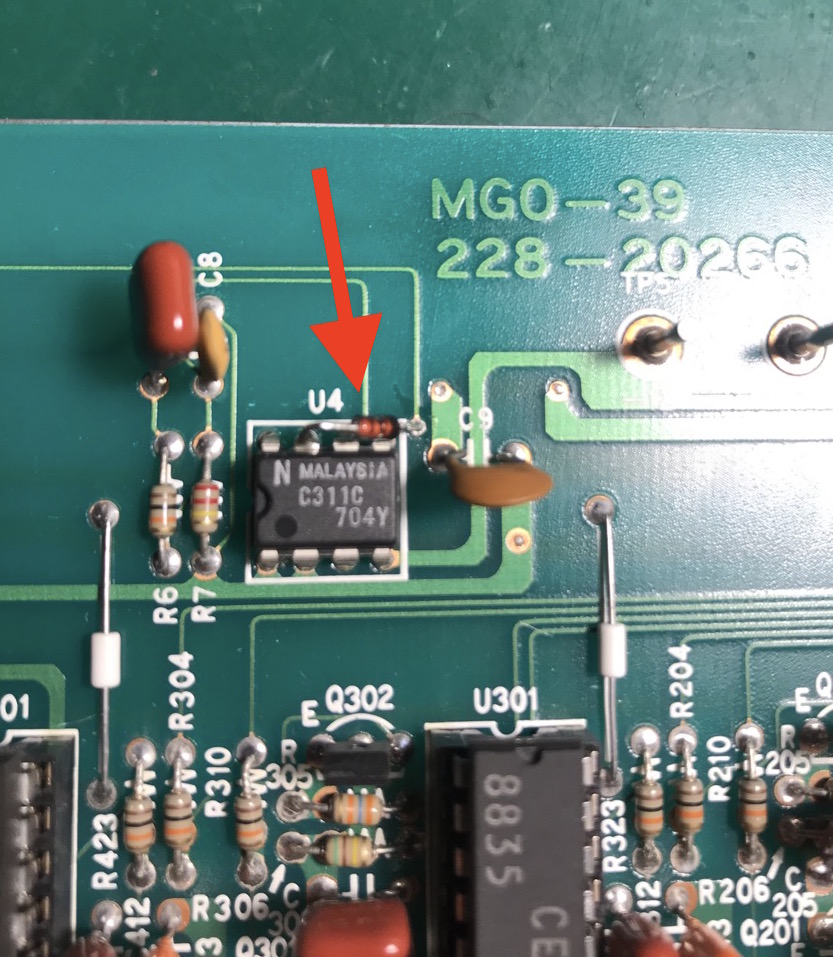

Once it is done you can reseat 3 screws and test that your synth is working as expected by launching a calibration procedure (Fonction TST / 7 / enter / 0 / enter – see the user manual if necessary) and playing some notes on different patches. Notice that patches 000 to 199 are mute as you’ve removed the battery (reload your Banks via SysEx).
If it is positive, reseat all the screws and the nuts and close the rack unit to enjoy your upgraded and modified Oberheim Matrix 1000 !


